Installing a drop-in kitchen sink doesn’t have to be complicated. For many, it can be a rewarding, affordable DIY project when you combine practicality, precision, and style. Whether you’re tackling a total kitchen renovation or simply replacing an old sink, understanding the ins and outs of sink installation is essential for a seamless and long-lasting result.
This step-by-step guide will walk you through the process so you can achieve a professional-looking drop-in sink installation, no matter your skill level.

Tools needed for the installation
Before you begin, gather all the necessary materials to ensure a smooth and efficient workflow. Here’s a list of items you’ll need besides the sink:
- Adjustable wrench
- Bucket
- Gloves
- Measuring tape
- Pipe wrench
- Pliers
- Plumber’s putty
- Putty knife
- Safety glasses
- Screwdriver
- Silicone sealant
- Towels
Setting up your workstation with these tools beforehand will reduce renovation frustration during the installation.
Step 1: Prepare by measuring and planning
The first step is to measure the existing cutout in your countertop to see if any changes need to be made (like modifying the opening). To do this, remove any items from the cabinet under the sink and disconnect the plumbing. Once you have a clear area, measure the width, depth, and height of the cutout.
With these measurements, you can choose a sink that drops perfectly into the cutout or expand the space to accommodate any inconsistencies. Remember to leave an overhang of approximately half an inch on all sides of the sink to guarantee a secure fit.
Choose the right sink
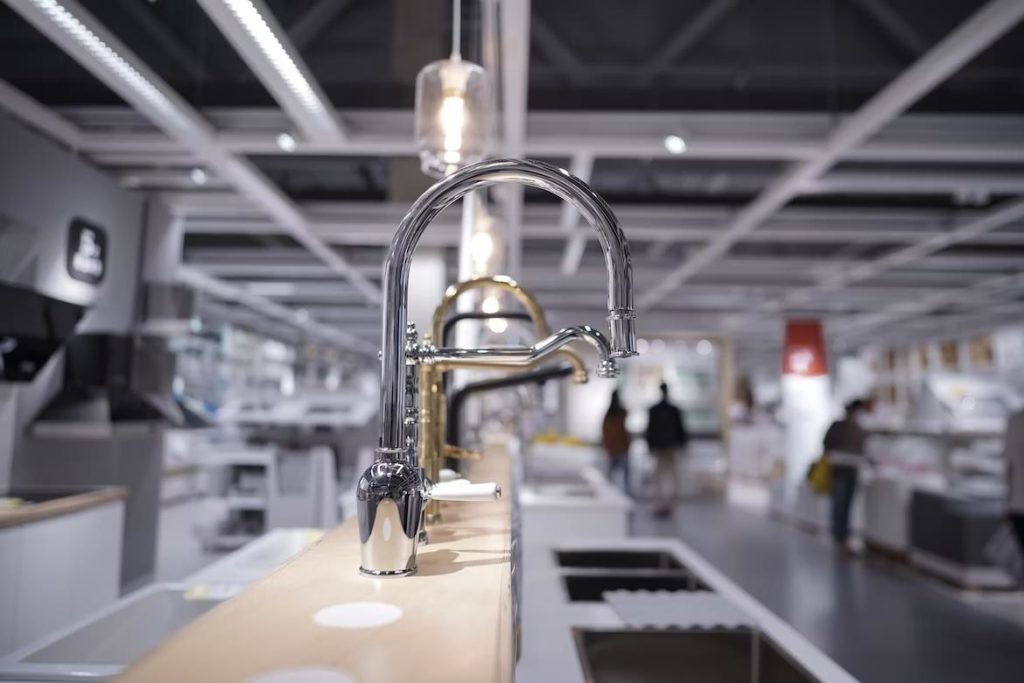
With so many options on the market, selecting an appropriate sink for your kitchen is crucial. To simplify this part of the process, take into account the following essential factors:
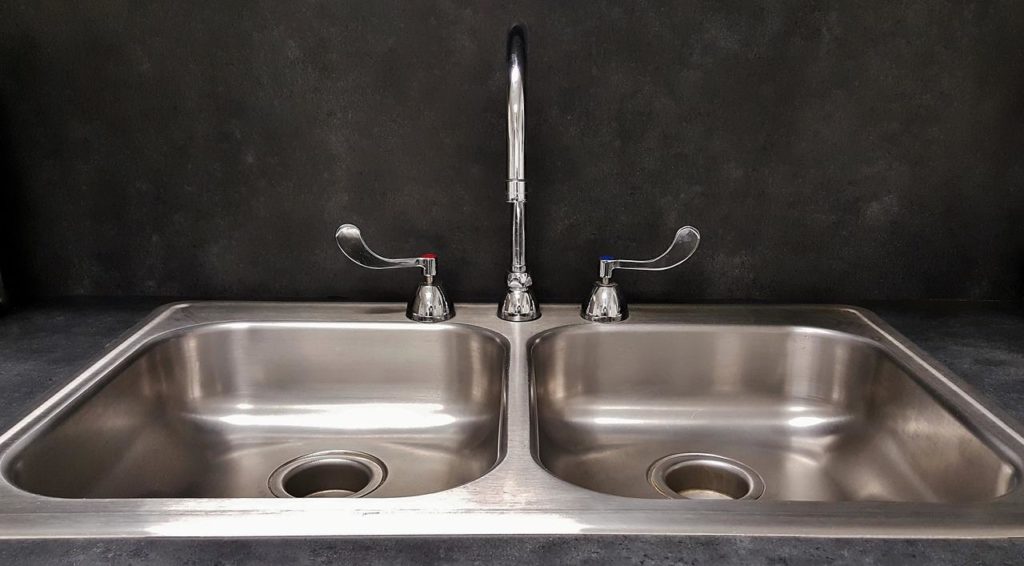
- Size – This can be based on how many basins you want, how much counter space you have, and the shape of the kitchen sink.
- Material – Choose stainless steel for durability, fireclay for a classic look, or granite composite for a modern touch.
- Style – Sink styles can vary based on your favorite aesthetic. Choose from sleek, contemporary, traditional, and more. Add lighting and a backsplash to elevate the kitchen.
- Functionality – Consider the depth of the sink and additional features like integrated cutting boards, built-in sprayers, or soap dispensers.
Keeping these tips top-of-mind when shopping around can help you choose the perfect sink with confidence! Don’t forget to be as practical as you are stylistic.

Step 2: Remove the old sink
Start by turning off the sink’s water supply. Locate the shut-off valves under the sink (usually knobs) and turn them clockwise to shut off the water flow.
Next, disconnect the plumbing connections (including the disposal and dishwasher line if you have it). Use an adjustable wrench to loosen the nuts that hold the supply lines and the drain pipe in place. Have a bucket and towels ready to catch any water that may spill during removal.
Once the plumbing connections are detached, use a screwdriver to remove any clips or brackets that secure the sink to the countertop. Gently lift the old sink out of the cutout and set it aside.
Step 3: Install the new sink
Begin by applying a thin layer of plumber’s putty around the edge of the sink cutout. This helps create a waterproof seal between the sink and the countertop.
Carefully lower the sink into the cutout, making sure it’s properly aligned and level. Press down firmly to adhere the sink to the putty. To attach the sink to the countertop, use the clips, screws, and/or brackets that come with it. Simply use a screwdriver to secure them in place. Clean up any excess putty with the putty knife.
Step 4: Reconnect the plumbing
Now it’s time to attach the drain assembly, faucets, and other components to the sink. Apply a thin layer of plumber’s putty around the drain openings and insert the pieces. Press down to adhere and clean to polish.
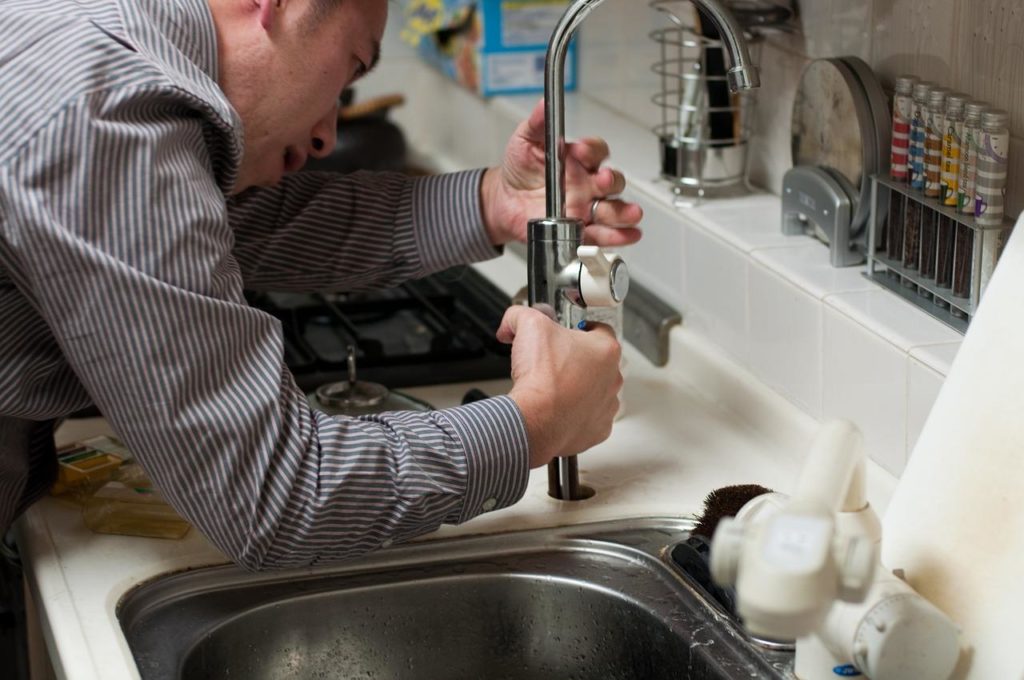
Next, connect the supply lines to the faucet. Use an adjustable wrench to tighten the nuts and avoid leaks. Follow the manufacturer’s instructions to connect additional systems (like garbage disposal, dishwasher line, etc.).

Step 5: Wrap it up
Lastly, test the sink for leaks. Turn on the water supply and assess the area around the drain, supply lines, and faucet connections. If you notice any leakage, tighten the connections.
Installing a drop-in sink can transform your kitchen and enhance its functionality. By following this step-by-step guide, you can confidently install a new sink or replace an old one, saving time and money.
Get more kitchen ideas from author Andrew Lemieux with European-inspired, luxury kitchen sinks and faucets at Houzer.