Replacing an outdated or damaged cooktop with a new one can greatly upgrade your kitchen’s functionality, safety, and aesthetic appeal. This comprehensive guide covers everything you need to know before, during, and after installing a replacement gas, electric, or induction cooktop.
We’ll review critical steps for selecting the optimal new cooktop model, essential pre-installation preparations, step-by-step installation guidance, post-installation testing and sealant procedures, and usage and maintenance best practices for your new appliance. Follow these tips to safely handle a cooktop replacement project and integrate your new cooker.
Choosing your new cooktop
The first major decision is selecting the right new cooktop for your family’s cooking needs while accounting for counter space, fuel supply, and budget.
Cooktop energy source types
The primary options include:
Gas cooktops
Gas cooktops ignite open gas burner flames to heat pots and pans. They offer fine temperature control for simmering sauces, works, and boil-overs. Measure counter depth for fitting gas lines.
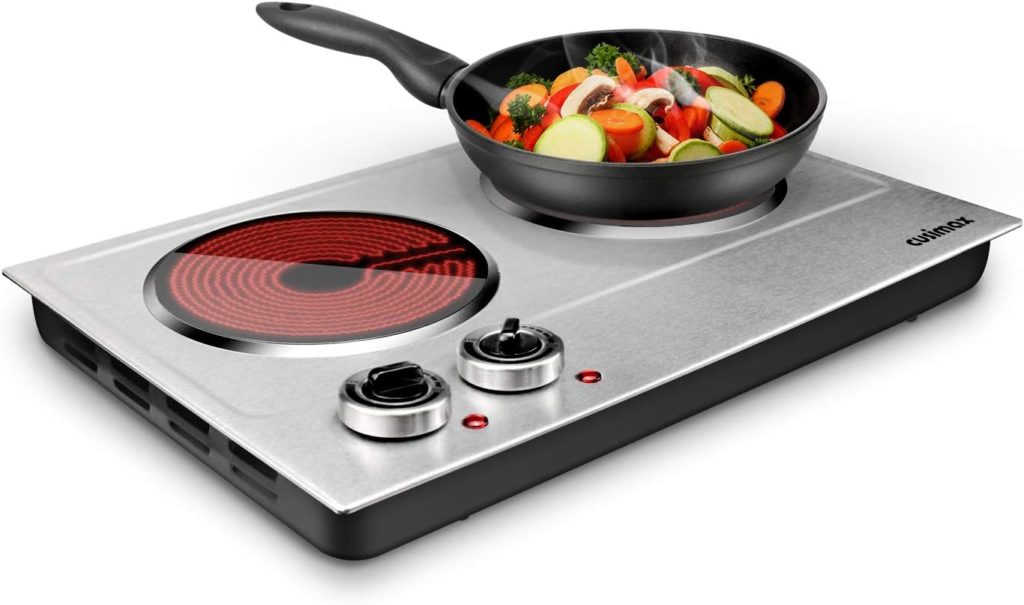
Electric cooktops
Electric coils or radiant elements underneath glass surfaces heat when powered on to temperature-adjustable settings. Even heating makes them great for pancakes and fried eggs.
Induction cooktops
Induction uses electromagnetic energy to induce vibration and instantly heat ferromagnetic pans placed on top. Ultra-responsive controls excel at searing and stir-fries.
Cooktop size and configurations
Standard width dimensions are 30”, 36”, 48”, and 60”, including options from 4 up to 6 burners. Consider existing countertop cutout size and layout complexity.
Key feature and technology evaluations
Also, contrast control panel types (knobs vs. touchpads), safety features like auto shut-off, and unique modes like bridging two burners into one large heating zone for griddles or pans.
Vetting electrical and gas supply capacity
Confirm your home’s 240V electrical outlet provides adequate power for a large appliance. Validate that BTU ratings match the available fuel line capacity on gas models.
Pre-installation planning steps
Completing these essential tasks prevents installation day delays:
1. Disconnect and remove the old cooktop.
- Unplug the electrical cord safely.
- Shut off the dedicated gas line and detach the pipe fitting.
- Unscrew the old cooktop chassis from the base cabinet.
- Carefully lift out the old cooktop to clear space.
2. Validate new cooktop dimensions fit countertop. Use the manufacturer’s cutout sizing templates to confirm measurements align with the existing countertop cutout. Width, length, and edge curvature must match precisely.
3. Order any new electrical or gas line components. Purchase necessary new power cords, conduit fittings, pipe sizes, or extended gas lines well ahead of installation based on model fuel requirements.
4. Gather essential tools and materials. Have ready: work gloves, eye protection, screws, fasteners, silicone adhesive, painter’s tape, drill, saws, pliers, level, flashlights, L-brackets, ladders, etc.
5. Mount hardware to bottom cabinet support. Per manufacturer guidance, attach provided L-brackets, rails, springs, or telescoping screws underneath the countertop base cabinet to anchor the new cooktop later on securely.
Step-by-step cooktop replacement installation
Once you’ve selected your model and completed pre-work, follow these key installation steps:
1. Lower the new cooktop into the countertop opening.
- Carefully position the cooktop inside the existing cutout hole.
- Center evenly left-to-right and front-to-back.
2. Re-attach electrical and gas connections.
- For electricity, plug a 240V power cord into an outlet.
- For gas, attach flexible pipe fittings to the fuel line.
- Re-install any detached grounding wires.
3. Secure internal cooktop chassis.
- Use mounting screws through the bottom cabinet to anchor firmly in place.
- Gradually tighten all screws to keep the cooktop level.
4. Perform gas leak checks if applicable.
- Ensure pipe fittings are fully tightened at all connection points.
- Apply soapy water spray and watch closely for bubble leaks.
- Power on and test heating functions.
5. Restore electrical power and gas fuel if shut off.
- Ignite burners to verify proper flame height/shape.
- Check electric elements and induction zones heat pans.
6. Apply waterproof sealant around edges.
- Run a continuous sealed bead of 100% neutral cure silicone.
- Evenly smooth out sealant with a plastic spatula.
- Immediately wipe away any excess squeezed out.
Post-installation usage and care tips
Get the most out of your investment by following manufacturer care guidance:
- Read all usage instructions to understand unique modes.
- Always stay near the cooktop when it’s powered on.
- Match pan sizes to a burner or element diameters.
- Avoid dropping heavy objects that can crack the delicate glass.
- Clean gently using non-abrasive ceramic cooktop spray cleaner.
Over time, periodically inspect your cooktop for any leaks or malfunctions. Engage professional appliance technicians for necessary repairs.
Conclusion
Replacing an aging or faulty cooktop offers a chance to improve your kitchen’s functionality and ensure renewed safety and reliability. By meticulously choosing the suitable replacement model, thoroughly planning pre-installation steps, executing the removal and integration process with precision, conducting thorough safety tests, and committing to regular maintenance, you pave the way for enhanced cooking experiences and heightened peace of mind.
Enjoy elevated cooking performance and convenience with a refreshed appliance, making your kitchen more enjoyable.
The article is written by the team of Airport Home Appliance. They offer a large selection of appliance brands in Northern California including popular brands such as Amana, Bosch, Electrolux, Frigidaire, GE, Hotpoint, KitchenAid, LG, Thermador, Samsung, Whirlpool, and many more.