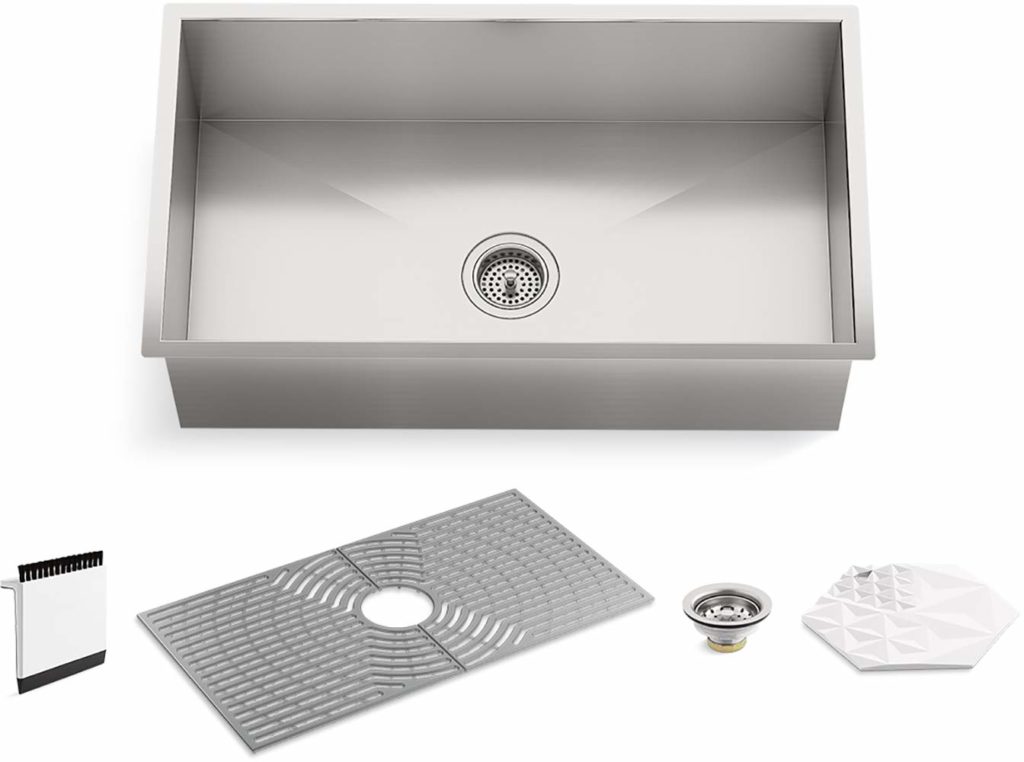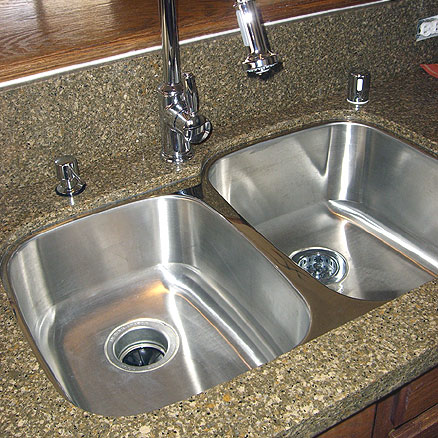
Undermount kitchen sinks are sinks that are installed below the countertop platform or surface. The sink is fitted to the bottom of the countertop material from below and the edge of the countertop stays exposed, giving an appearance of sink being embedded in the countertop. Silicone-based sealants are generally used to firmly seal the undermount kitchen sink from beneath to ensure that the joint between the sink and the countertop slab is waterproof.

Undermount kitchen sink gives a contemporary look to the kitchen and gives a neat look to the entire arrangement. It also allows any water or residue to be swept directly into the sink rather than have it accumulated in between the rims of a top-mount sink. However, getting the perfect fit is quite difficult. The cut in the countertop usually has slight gap at the interface of the sink and countertop. Hence a very careful installation is required for undermount kitchen sinks.
Selecting the right kind of undermount kitchen sink is the first step towards a well-supported undermount kitchen sink installation. Stainless steel is light in weight and can withstand load of heavy pots and pans. Heavier materials like cast iron sinks need stronger support and firm clamping. However, following steps need to be followed for all undermount sinks, regardless of them being heavy or light in weight.
1. Ensure that the countertop material is very strong and solid- like marble, stone, granite etc. Undermount sinks are heavy and need to be strongly supported in order to remain firmly in place when filled with a heavy load of water and dishes.
2. Select an undermount sink that is not very heavy and is easy to use.
3. Next a hole needs to be carefully cut in the countertop in accordance with the sink dimensions. The template for the sink hole comes along with the sink and should be used for a proper cut and accurate fit. In case of doubt about carrying out this task yourself, contact and hire a professional.
4. If you achieve a neat cut yourself then polish it to give it a smooth finish.
5. The underside of the countertop needs to be thoroughly cleansed using alcohol to avoid any grit that may have accumulated during the cutting process. This is important for a smooth and proper fitting of the sink.
6. Now take a silicone caulk and carefully run it on the edge of hole in the underside of the countertop and carefully place sink over it.
7. Mix epoxy and apply it as per the instructions (as given in the instruction sheet of undermount kitchen sink). This needs to dry up for one full day before you can begin using the sink.
Undermount kitchen sinks are generally preferred for their clean fitted appearance, ease of maintenance and comparatively lower frequency of growth of mold and residue accumulation. Not only are they in demand for the functionality they offer, but also for the value they add to the overall decor of your kitchen. Various models are available to suit your requirement – from a variety of sturdy materials, colors, capacities (single or double bowl) to designs (e.g. copper material apron undermount sinks that come with delicate designs on the front).
You have a vast choice. However, it’s always functionality first. So select an undermount kitchen sink that not only suits your daily requirements but will last long too (sponsored link). It is also important that you consider the size of your kitchen and take proper measurements (to see what size sink will fit in the available space) before going shopping for an undermount kitchen sink.
Among the well-known manufacturers of undermount kitchen sinks are Kohler, Franke, Blanco, Elkay, Kraus, Swanstone, American Standard, Moen and MR Direct.
Did you install the undermount sink yourself too? We are putting in laminate counters ourselves and we aren’t sure about the sink. Thanks!