Don’t worry if the garbage disposal you are using finally gave up the ghost. It is relatively easy to remove it and install a new one. But you need to have the right materials and tools. This article will show you how to do it. Be sure that you have everything you need before starting this project.
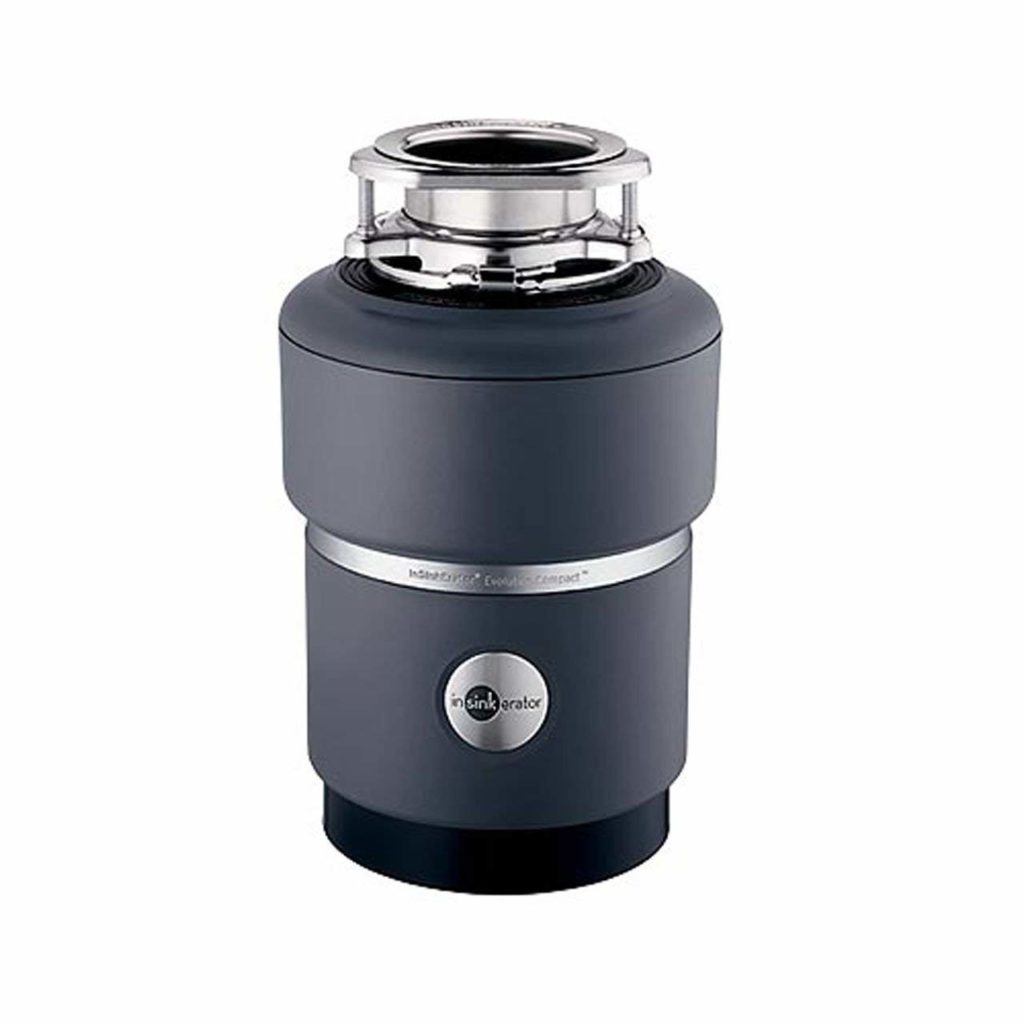
First Step: Choose the correct type of garbage disposal
It is easy to determine the type of garbage disposal you need to buy. Just look at the underside of your countertop and you will see the make of your old and broken unit. However, if it is already worn out and you can’t find the brand or any identifying mark on its body, there are things that can help you determine which type of unit you will need. Here’s how to do it.
- Think about the features that you want your garbage disposal to have. There are several things that you need to consider such as what type of plumbing you have and if noise is an issue with your family.
- Will you be allowing your children to use the garbage disposal? If you will, think about buying a batch feed unit instead of a continuous feed model. They are more expensive but they are safer for kids since they use a stopper before they can be turned on. The continuous version runs as soon as you push the button which could be dangerous if someone sticks his hand or accidentally drops a spoon on the drain. If the drain is connected directly to your septic tank, you need a unit that is septic tank compatible.
- If your family cannot stand the unnecessary noise, you should get a unit that runs more quietly.
- Do you have an average household? If you do, you will need a unit with only a small horsepower, about 1/3 hp. But if you have a larger household, you may need a bigger unit which is about ½ horsepower.
Second Step: Gather all the tools and supplies
You will need the following tools to install your new garbage disposal unit.
- Safety equipment such as a protective mask, safety goggles and working gloves
- Screwdriver
- Electrical cord
- An appropriate wrench
- Plumber’s putty
- Pliers
- Hacksaw
Third Step: Remove the old garbage disposal unit
Before removing the old unit, be sure that the power is turned off. Secure the control panel so that no one can turn it on while you are removing and installing the new unit.
1. Remove the hose from the dishwasher. Use the screwdriver to loosen the screws of the hose. Then detach it from the dishwasher.
2. Detach that waste conduit. Remove the waste line or ‘P’ trap from the garbage disposal with a wrench. You must loosen the slip-nut that connects the trap to the disposal unit. Place a container below the trap to catch whatever will fall down as you unscrew the trap.
3 Remove the old disposal unit. Insert the screwdriver inside the mounting ring lug and turn it counterclockwise to allow the unit to come loose.
4. Remove the rest of the mounting assembly of the old unit. The sink sleeve ring, the sink sleeve, the plumber’s putty, the fiber gasket and the flange must be removed. Clean the sink opening, the flange and the sleeve.
Fourth Step: Install the new garbage disposal unit
1. Set the wires of the disposal unit. Some models have wires that are already attached, while some don’t. If the unit that you bought doesn’t have the wires attached, remove the plate under the unit and connect the wires as per the instructions of the manufacturer. Follow the color coding of the wires. White wires should be connected to white wires and black to black. Return the plate cover once you are finished connecting the wires.
2. Install the flange and the ring. Get some plumber’s putty and form a tube around 10 inches long and ½ inch thick. Put it in the underside of the flange beneath the sink. Insert the drain flange into the hole and press it so that the putty will be distributed evenly. Then put the backup ring, the fiber gasket and the mounting ring.
Tighten the screws of the mounting ring with a screwdriver. Ensure that the tightening is even by alternately tightening the screws. Use a knife to trim the putty that may overflow around the flange.
3. Install the disposal unit. Put the garbage disposal on the mounting ring. Ensure that its outlet faces the drain pipe connection. Tighten its screws so that it will stay in place.
4. Connect the unit to the P-trap. Measure the required length of the discharge pipe. Then cut it using a hacksaw. Connect this pipe to the outlet of the unit, carefully following the instructions of the manufacturer. Attach the discharge of the dishwasher.
5. Check if the disposal is working. Turn the power on. Open the faucet to allow water to flow into the sink. Turn on the garbage disposal unit and check if it is working properly. Check if there are no leaks in the connections under the sink. Then run some waste food stuff to see if the unit can grind and dispose the food properly.
Hello, My name is Justin Curtis, and I am the creator of Mr. Garbage Disposal.

While I am not a professional plumber, I am quite the handyman. I work as an accountant, but outside of work, I like to work with my hands and live frugally.
2 years ago, the garbage disposal in my house broke because of a faulty part. After buying the new part and looking at installation fees, I realized that it was way outside of my budget. To solve my problem, I took it upon myself to learn everything I could about garbage disposals. I learned the best affordable parts, where to get them, and how to install them. Through this experience, I discovered my passion for working with my hands.
Considering most people don’t know much about garbage disposals, I want to share my experience and knowledge with you, which is why I created Mr. Garbage Disposal.
My goal for Mr. Garbage Disposal is for it to be the go-to place for people to learn about garbage disposals and how to fix them, while not breaking the bank along the way.